
 Connor
5cf81b9e64
Connor
5cf81b9e64
|
2 months ago | |
|---|---|---|
| .github | 2 months ago | |
| .vscode | 6 months ago | |
| assets | 6 months ago | |
| docs | 4 months ago | |
| nix | 2 months ago | |
| scripts | 6 months ago | |
| src | 2 months ago | |
| .dockerignore | 1 year ago | |
| .gitignore | 1 year ago | |
| CHANGELOG.md | 2 months ago | |
| Dockerfile | 2 months ago | |
| Dockerfile.dev | 2 months ago | |
| LICENSE | 1 year ago | |
| README.md | 2 months ago | |
| contributing.md | 3 years ago | |
| docker-compose.dev.yml | 1 year ago | |
| docker-compose.yml | 1 year ago | |
| flake.lock | 2 months ago | |
| flake.nix | 2 months ago | |
| package.json | 2 months ago | |
| pnpm-lock.yaml | 3 months ago | |
| privatekey | 2 months ago | |
| publickey | 2 months ago | |
README.md
WireGuard Easy Nix
Got tired of people suggesting to run this with a container inside of Nix. At the end of the day all you need to do is run the process in a systemd unit and have the variables exposed. This even lets you set common variables with Nix instead of having to set them every time. Any changes will only impact new clients.
This fork exposes wg-easy as a Nix flake with a NixOS module at nixosModules.default.
Here is a fully filled out config. You don't need to use all of these. The commonly used ones are filled out.
{
  inputs.wg-easy.url = "github:connoralydon/wg-easy-nix";

  outputs = { nixpkgs, wg-easy, ... }: {
    nixosConfigurations.server = nixpkgs.lib.nixosSystem {
      system = "x86_64-linux";
      modules = [
        wg-easy.nixosModules.default
        ({ pkgs, ... }: {
          services.wg-easy = {
            enable = true;
            package = wg-easy.packages.${pkgs.system}.default;

            interfaceName = "wg0";
            wireguardPort = 51820;
            uiPort = 51821;
            stateDir = "/var/lib/wg-easy";
            externalInterface = null;

            enableIPv6 = false;
            defaultDns = [ "10.8.0.1" ];
            defaultAllowedIps = [ "10.8.0.0/24" ];
            defaultServerAllowedIps = null;
            defaultFirewallAllowedIps = null;
            defaultPersistentKeepalive = null;
            firewallEnabled = null;
            forceUpdateClients = false;
            insecure = false;

            openFirewall = true;
            openWebUIFirewall = false;
            extraEnvironment = { };
          };
        })
      ];
    };
  };
}



You have found the easiest way to install & manage WireGuard on any Linux host!
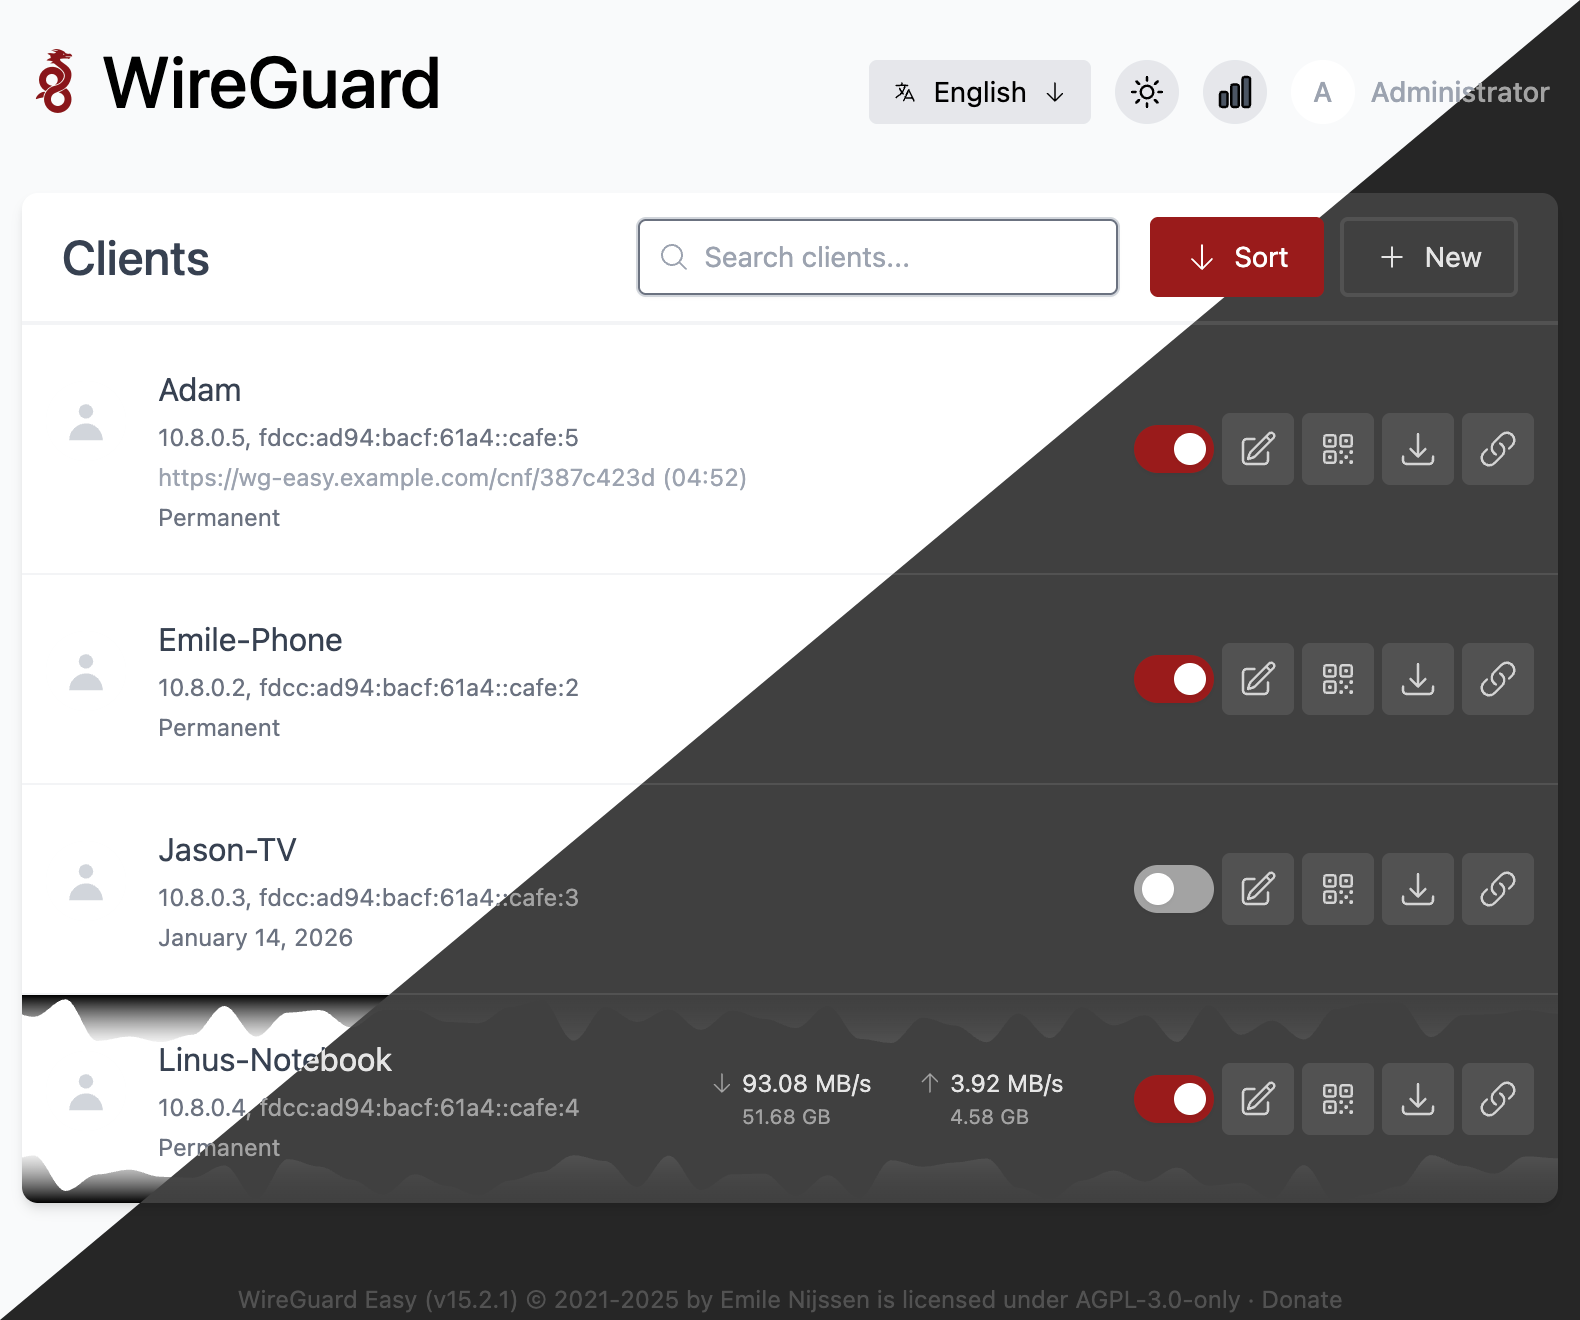
Features
- All-in-one: WireGuard + Web UI.
- Easy installation, simple to use.
- List, create, edit, delete, enable & disable clients.
- Show a client's QR code.
- Download a client's configuration file.
- Statistics for which clients are connected.
- Tx/Rx charts for each connected client.
- Gravatar support.
- Automatic Light / Dark Mode
- Multilanguage Support
- One Time Links
- Client Expiration
- Prometheus metrics support
- IPv6 support
- CIDR support
- 2FA support
- Per-client firewall filtering (requires iptables)
[!NOTE] To better manage documentation for this project, it has its own site here: https://wg-easy.github.io/wg-easy/latest
[!NOTE] If you want to migrate from the old version to the new version, you can find the migration guide here: Migration Guide
Installation
This is a quick start guide to get you up and running with WireGuard Easy.
For a more detailed installation guide, please refer to the Getting Started page.
NixOS
This repository exposes a NixOS module through nixosModules.default:
{
  inputs.wg-easy.url = "github:<owner>/wg-easy-nix";

  outputs = { nixpkgs, wg-easy, ... }: {
    nixosConfigurations.server = nixpkgs.lib.nixosSystem {
      system = "x86_64-linux";
      modules = [
        wg-easy.nixosModules.default
        {
          services.wg-easy = {
            enable = true;
            interfaceName = "wg0";
            wireguardPort = 51820;
            uiPort = 51821;
            stateDir = "/var/lib/wg-easy";
            enableIPv6 = false;
            defaultDns = [ "10.8.0.1" ];
            defaultAllowedIps = [ "10.8.0.1/32" ];
            defaultPersistentKeepalive = 25;
            firewallEnabled = true;
            defaultServerAllowedIps = [ ];
            defaultFirewallAllowedIps = [ "10.8.0.1/32" ];
            forceUpdateClients = false;
            openFirewall = true;
          };
        }
      ];
    };
  };
}
WireGuard's conventional default port is 51820. Set wireguardPort = 51280; if you want that port instead.
The defaultDns, defaultAllowedIps, defaultPersistentKeepalive, defaultServerAllowedIps, and defaultFirewallAllowedIps settings are stamped onto new clients when they are created. Existing clients keep their previous values unless forceUpdateClients = true; is set.
defaultAllowedIps goes into generated client configs and controls what each client routes through the tunnel. defaultServerAllowedIps adds extra server-side peer routes for subnets behind a client; leave it empty for normal clients. defaultFirewallAllowedIps is the per-client destination allowlist used by wg-easy firewall filtering. Per-client firewall filtering currently applies to forwarded traffic, not local INPUT traffic to the server's own 10.8.0.1 address.
1. Install Docker
If you haven't installed Docker yet, install it by running as root:
curl -sSL https://get.docker.com | sh
exit
And log in again.
2. Run WireGuard Easy
The easiest way to run WireGuard Easy is with Docker Compose.
Just follow these steps in the detailed documentation.
You can also install WireGuard Easy with the docker run command or via podman.
Now setup a reverse proxy to be able to access the Web UI securely from the internet. This step is optional, just make sure to follow the guide here if you decide not to do it.
Donate
Are you enjoying this project? Consider donating.
Founder: Buy Emile a beer! 🍻
Maintainer: Buy kaaax0815 a coffee! ☕
Development
Prerequisites
- Docker
- Node LTS & corepack enabled
- Visual Studio Code
Dev Server
This starts the development server with docker
pnpm dev
Update Auto Imports
If you add something that should be auto-importable and VSCode complains, run:
cd src
pnpm install
cd ..
Test Cli
This starts the cli with docker
pnpm cli:dev
License
This project is licensed under the AGPL-3.0-only License - see the LICENSE file for details
This project is not affiliated, associated, authorized, endorsed by, or in any way officially connected with Jason A. Donenfeld, ZX2C4 or Edge Security
"WireGuard" and the "WireGuard" logo are registered trademarks of Jason A. Donenfeld